Categories more
- Adventures (17)
- Arts / Collectables (14)
- Automotive (37)
- Aviation (11)
- Bath, Body, & Health (76)
- Children (6)
- Cigars / Spirits (32)
- Cuisine (16)
- Design/Architecture (22)
- Electronics (13)
- Entertainment (4)
- Event Planning (5)
- Fashion (45)
- Finance (10)
- Gifts / Misc (6)
- Home Decor (45)
- Jewelry (41)
- Pets (3)
- Philanthropy (1)
- Real Estate (16)
- Services (23)
- Sports / Golf (14)
- Vacation / Travel (59)
- Watches / Pens (14)
- Wines / Vines (24)
- Yachting / Boating (17)


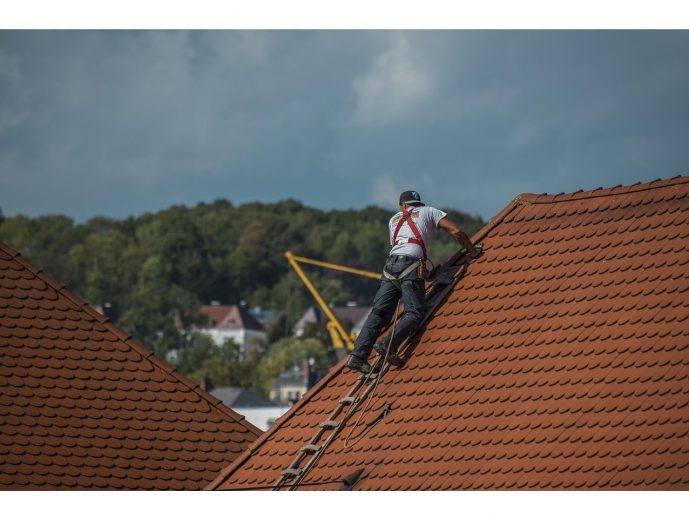
How Roofing Contractors Fix Roof Leaks From Inside the Attic Safely
Published
08/19/2025Roof leaks can create significant problems if left unaddressed, leading to water damage, mold growth, and weakened structural integrity. Sometimes, addressing a leak from inside the attic can be an effective solution, especially during adverse weather when exterior repairs are unsafe. This method requires careful planning, knowledge of roofing structures, and the right safety measures. We will explore how roofing contractors handle this process from start to finish, ensuring that the repair is effective without causing further damage to the home. Understanding this approach can help homeowners appreciate the skill and precision required in these situations.
Steps Roofing Contractors Take to Safely Fix Roof Leaks From Inside the Attic
1. Locating the Source of the Leak
The first step in fixing a roof leak from inside the attic involves accurately finding the source of the water intrusion. KC Roof Repair Contractors enter the attic with proper lighting, often using a headlamp or portable work light to navigate in tight, dark spaces. They look for visible signs of water, such as wet insulation, damp rafters, or water stains on the underside of the roof decking. Sometimes, the exact entry point is not directly above the visible damage, so contractors trace the water trail to its origin. This process may involve gently moving insulation and checking for pinholes, cracks, or gaps in roofing materials. To avoid damaging the structure, they work slowly and methodically. If the weather allows, a partner may remain outside with a hose to simulate rain, making it easier to pinpoint the leak location from inside.
2. Creating a Safe Working Environment
Safety is a top priority when working inside an attic. Contractors wear protective gear, including gloves, safety glasses, and sometimes respirators, to guard against dust, mold, or insulation fibers. They place sturdy boards across ceiling joists to provide a stable footing, preventing accidental damage to the ceiling below or injury from falling through. Ventilation is also important; contractors may open an attic vent or use a fan to ensure proper airflow. Because attics can become extremely hot or cramped, work is often done in shorter sessions to avoid overheating or exhaustion. Before making any repairs, they also ensure electrical wiring in the area is secure, avoiding the risk of contact with exposed wires or damaged insulation.
3. Applying Temporary Patches
When the leak needs to be addressed immediately and exterior repair is not possible due to weather conditions, contractors use temporary patching methods inside the attic. This might include roofing tape, a waterproof tarp, or a sealant designed for emergency repairs. The patch is applied directly to the affected area, ensuring it adheres tightly to the roof decking or underlayment. For added protection, they may layer materials to create a double barrier against water penetration. This approach stops further damage until permanent exterior repairs can be completed. Even though these patches are effective in the short term, contractors always emphasize that they are not a substitute for full repair, as roof leaks often indicate deeper issues that need exterior attention.
4. Reinforcing Roof Decking and Rafters
If water has damaged the roof decking or rafters, contractors take steps to reinforce these structural components from inside the attic. This can involve replacing small sections of plywood decking, adding support braces to weakened rafters, or applying wood preservative treatments to prevent rot from spreading. Contractors ensure that all reinforcement work is done without altering the roof’s structural integrity. This step is crucial in preventing future issues, as weakened wood can continue to deteriorate even after the leak itself is sealed. In some cases, insulation in the area may also be replaced if it has been saturated with water, ensuring the attic remains energy-efficient and mold-free.
5. Sealing Around Penetrations and Gaps
Many roof leaks originate around areas where vents, chimneys, or skylights penetrate the roof. From inside the attic, contractors carefully inspect these locations for gaps or deteriorated flashing. They use sealants, expanding foam, or roofing cement to close these openings, ensuring water cannot seep through during rain. This step requires precision to avoid blocking ventilation or damaging existing components. Contractors also pay attention to small cracks in the roof sheathing, filling them with durable materials that can withstand temperature changes and moisture. By sealing these vulnerable points, they not only stop the current leak but also reduce the likelihood of new leaks forming in the same area.
6. Conducting a Post-Repair Inspection
After completing the repair, contractors perform a thorough inspection to confirm that the leak has been successfully sealed. They may pour a controlled amount of water over the suspected area while another team member checks inside the attic for any signs of dripping or moisture. This testing process ensures that the repair holds under realistic conditions. Contractors also check the surrounding areas to confirm no other weak points are present. If necessary, they adjust or reinforce the repair before closing up the attic space. Finally, they document the work done, often with before-and-after photos, so the homeowner has a clear record of the repair for insurance purposes or future maintenance planning.
Fixing a roof leak from inside the attic requires careful investigation, safety precautions, and methodical repair techniques. Roofing contractors approach the task with attention to detail, from locating the leak source and applying temporary patches to reinforcing weakened structures and sealing vulnerable gaps. Each step is designed to minimize damage, protect the home’s interior, and provide a reliable short-term solution until exterior repairs can be made. By understanding how contractors work in these conditions, homeowners can better appreciate the complexity of roof maintenance and the value of timely intervention.
Comments
